Balustrade Installation
Now that the balustrades all have the end brackets and centre posts attached I was able to place the up on the deck ready for installation. I started off with the far left gap and using a clamp against the bracket on the right I was able to position and attach to the posts and decks. For the brackets I used the stainless steel screws whilst the bottom of the stainless steel post required 14 gauge galvanised screws. They used a hexagonal bit to be installed and were self drilling so there was no need to drill pilot holes.
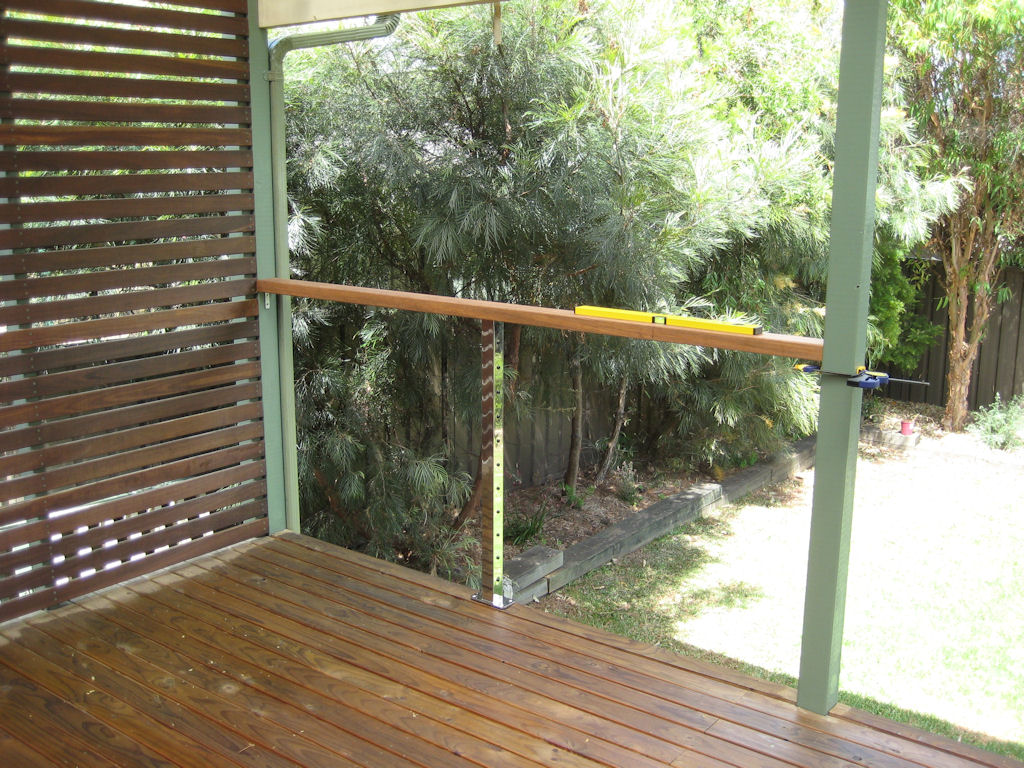
As always ensuring that the balustrade was level was crucial both from the length and width perspectives. Here you can see the length of the balustrade is looking pretty good.
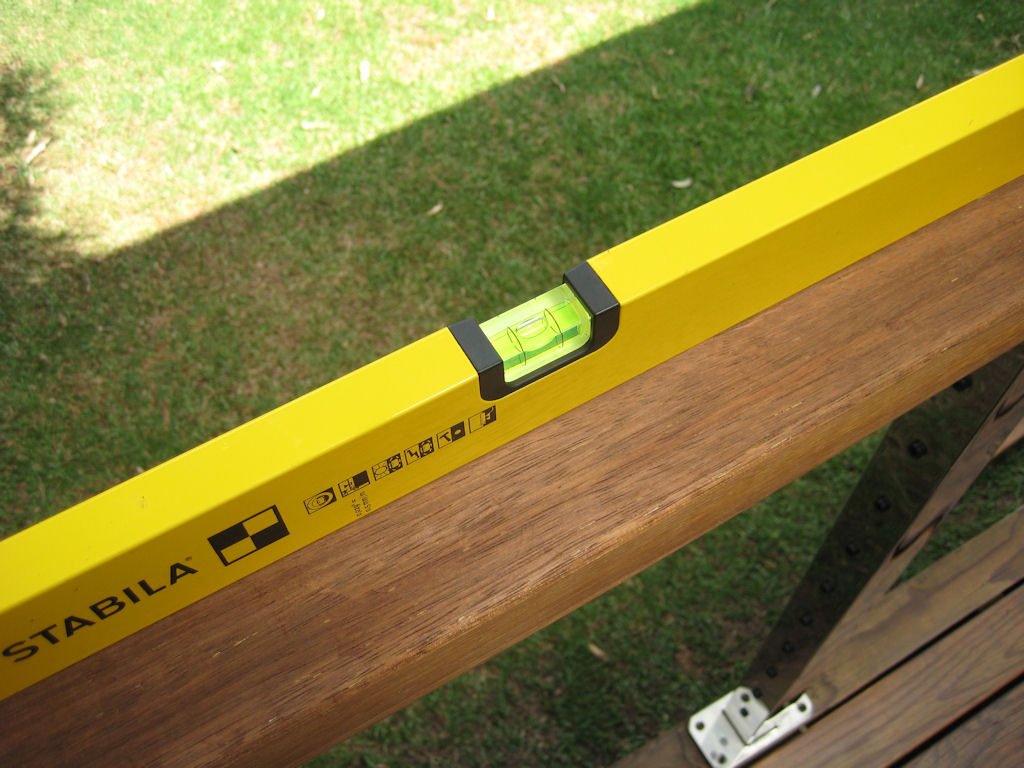
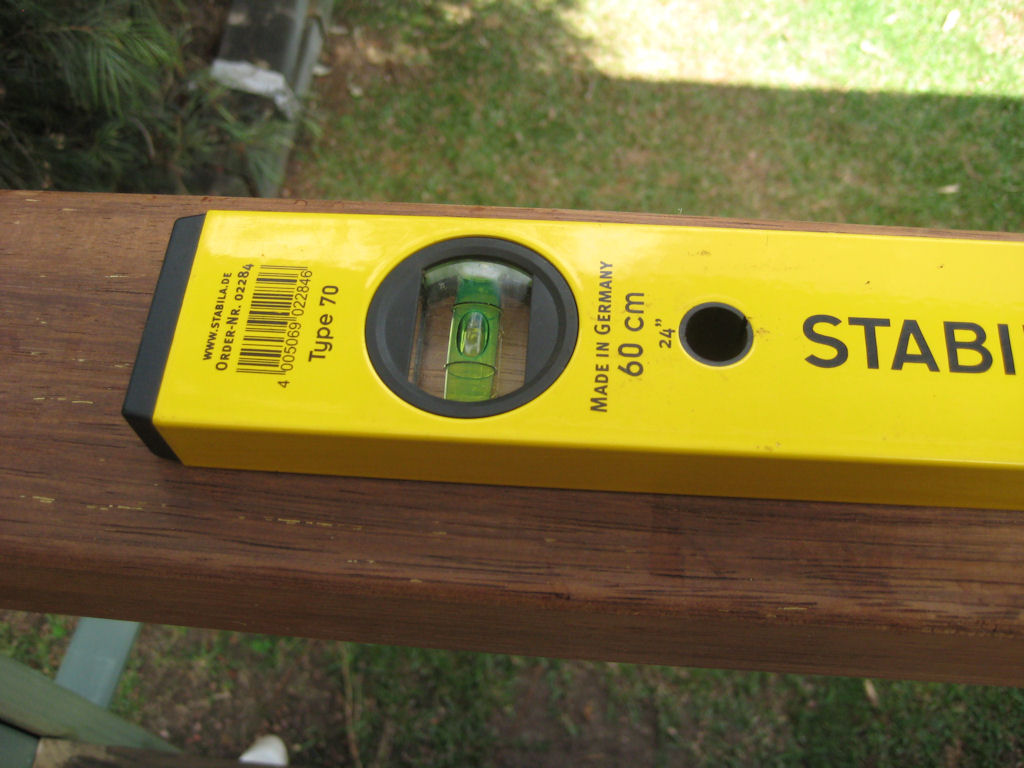
And for the width of the balustrade the level looks spot on.
Next I moved onto the far right section of the deck and followed the same procedures of placing the balustrade in place then leveling, clamping and then screwing the post to the deck and brackets to the posts. That left the middle section of the deck to complete and to my suprise when I placed the middle balustrade in place I noticed that I had a fairly major issue, the deck itself was not level. The construction of the deck is as such that the middle of the deck has dropped by a couple of centimeters and it is not until you actually place a fixed length post into the mix that the level of all the balustrades were going to be off. Here I had a number of limitations and this included the spacing in the stainless steel posts and the holes that I needed to drill in the supporting posts all needed to line up to ensure that the stainless steel wire was going to be straight. That left me with no other alternative other than to gain some height by placing something under the post itself.
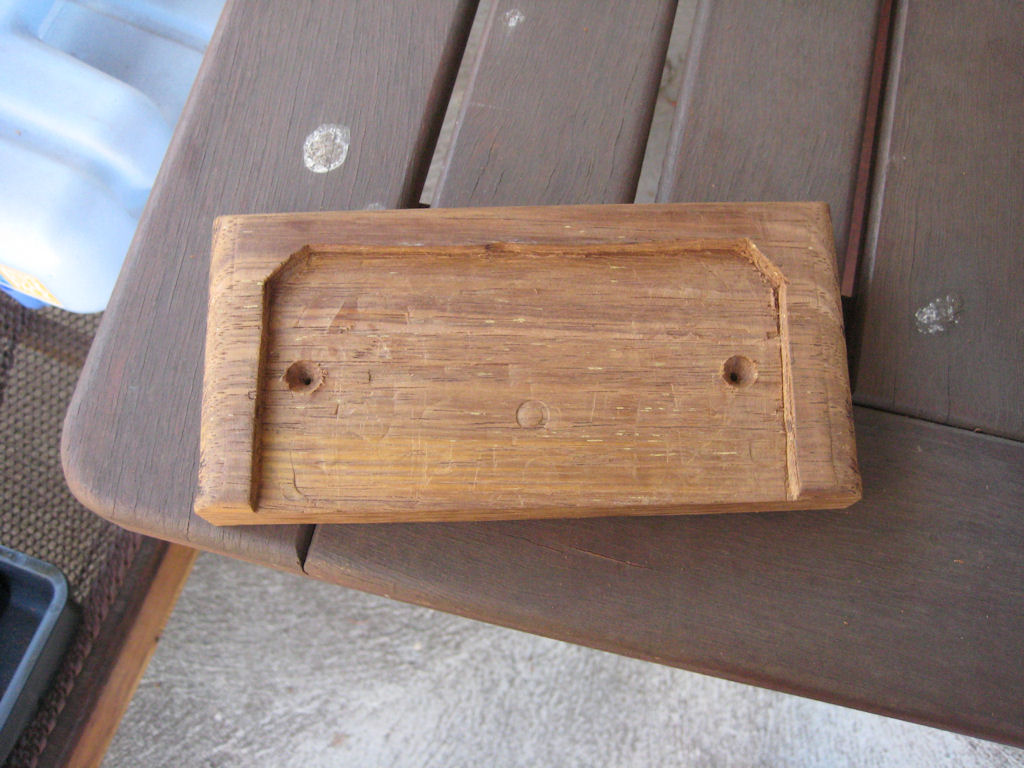
So I came up with the idea to use one of the off cut pieces of hardwood to route out and then attach to the deck to give the additional height I required. So this next picture shows the template that I had measured out ready to be removed.

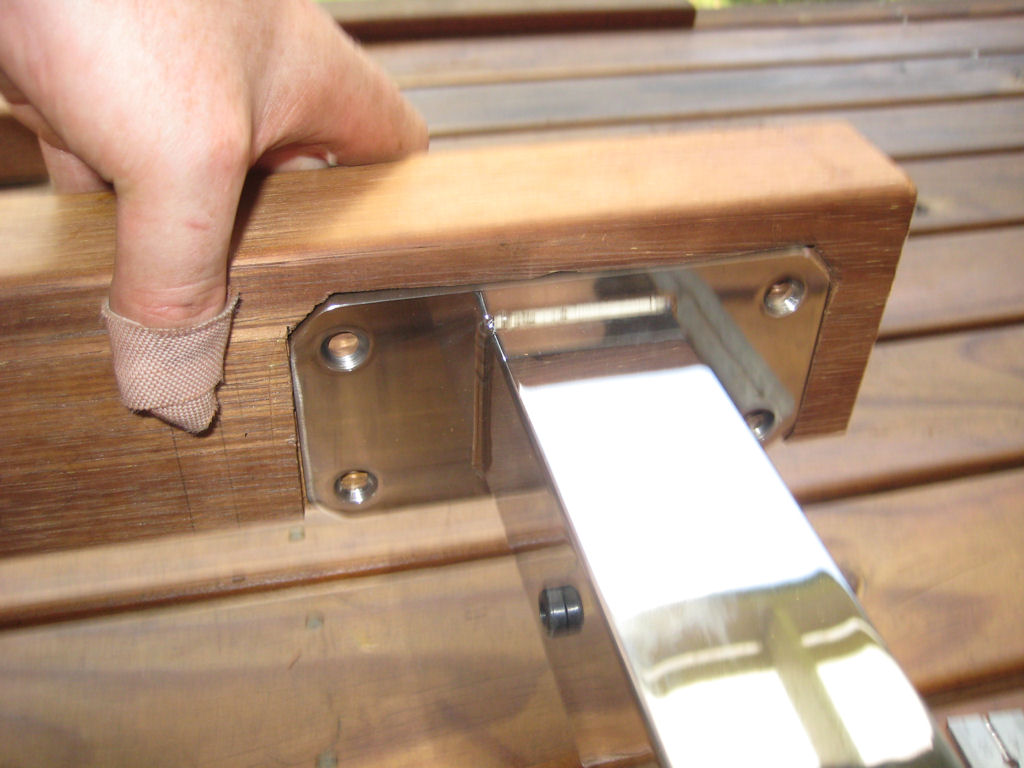
After routing I did a quick tidy up using the chisel and sand paper and here I am giving the post a quick check. I was happy with the result so the next step was to reduce the width of the piece.
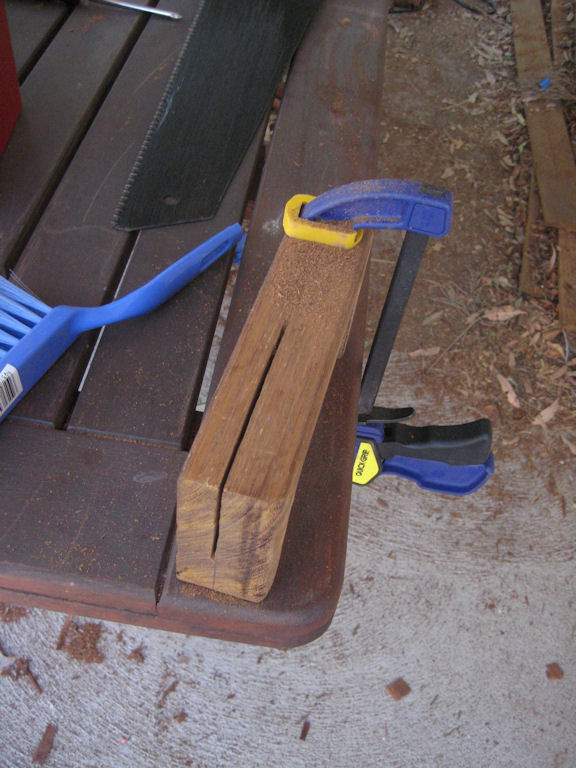
This was a little tricky to cut. Using by outdoor table as my work bench and using a clamp I was able to make the cut but in all reality I need to get myself a proper workbench to make this easier for myself.
With the piece now cut I tidied up all the edges using the router with a rounding bit. I finished it off with some sandpaper.
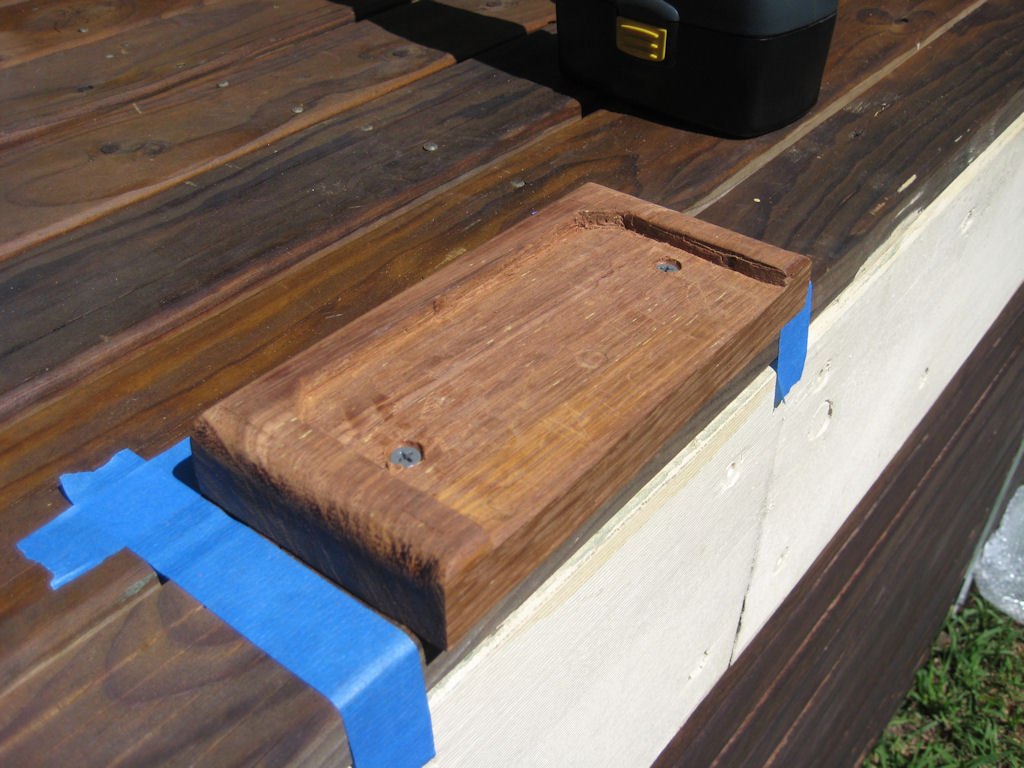
And here is the piece installed onto the deck. I used some screws left over from the hardwood screen project. I made sure that the screws would not impede me screwing in the post.
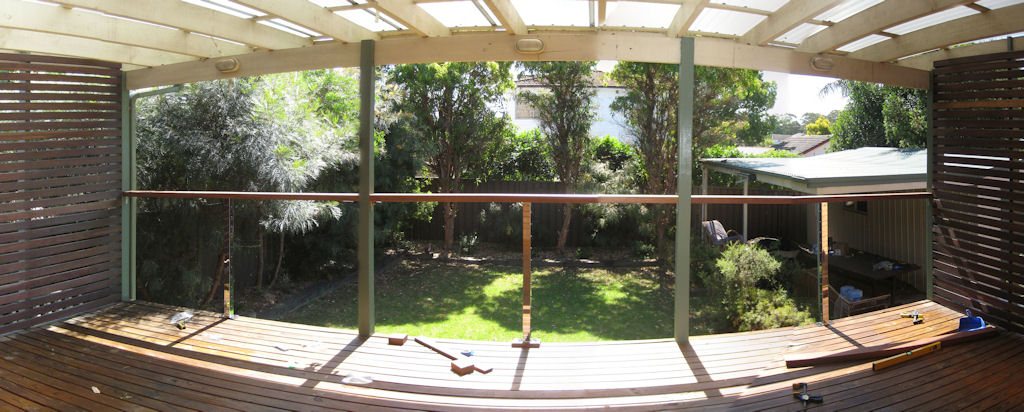
And here we have a shot of all the posts full installed. It's at this point you start to get a bit excited as the project seems to be going well and what I'm seeing
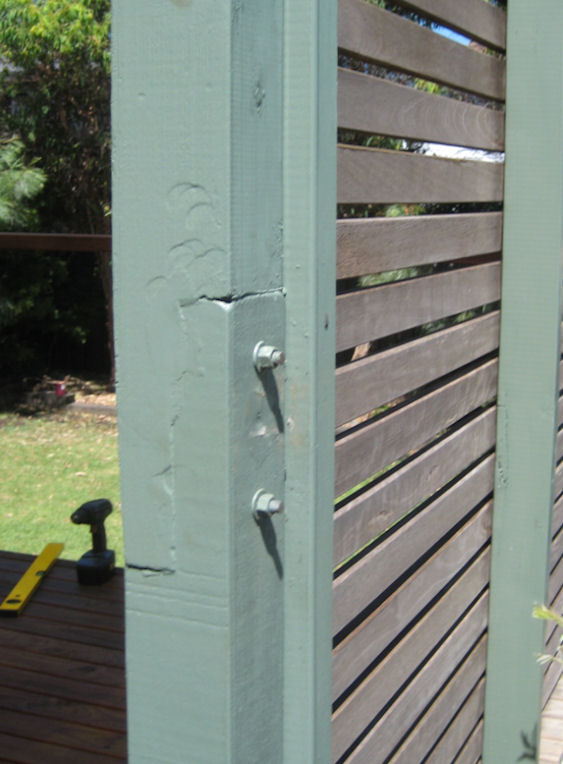
Now onto the installation of the hand rail down the stairs. First I had to tidy up the bolts that were installed when I put in the top post whilst working on the hardwood screen project. You can see the difference the angle grinder can make. The balustrade itself will sit between the two bolts. Unfortunately I didn't take too many shots on the installation of the balustrade itself.