Projector Installation
After speaking with the guys from Digital Cinema at West Ryde where I bought the projector and screen from, I decided to get their recommended installers from One Dragon out to give me a quote. I essentially talked them through how I wanted the screen positioned and where the HDMI and power cables should run through to. There didn't appear to be any real dramas with what I was asking for so it was just a matter of getting a quote from them. I had a verbal quote from another installer and found that the One Dragon guys were well underneath that so ended up getting them to do the installation.
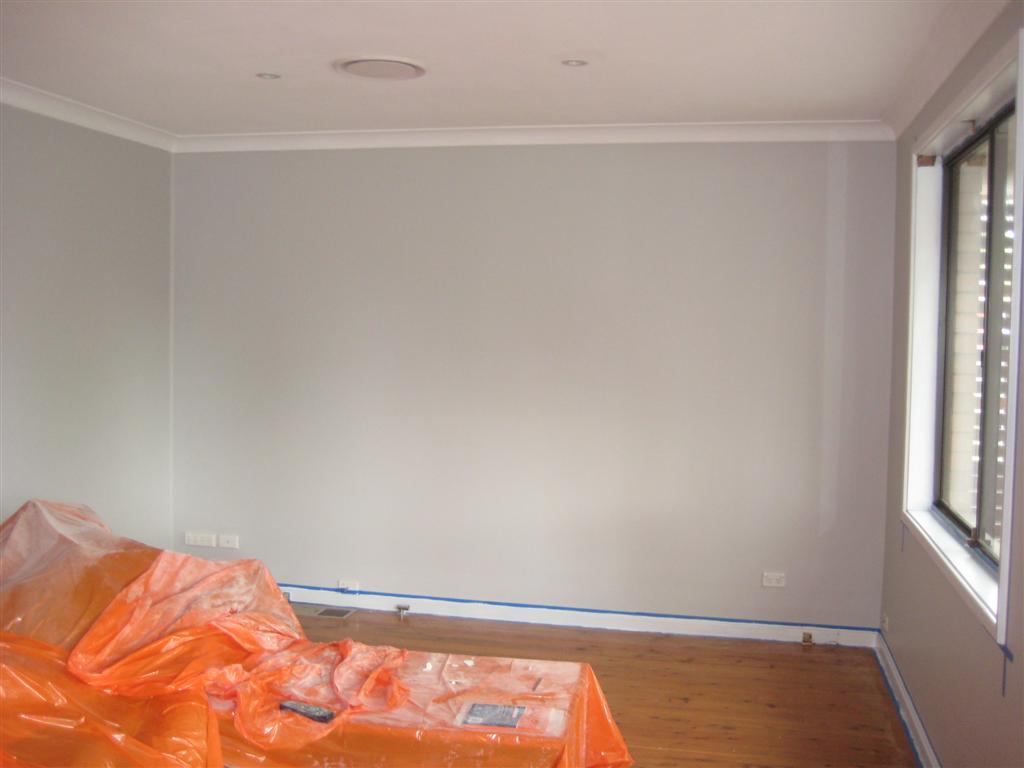
So on completing the painting of the ceiling and walls in the lounge room it was time to organise for the installation of projector and screen. Here is a shot of the wall ready to receive the screen.
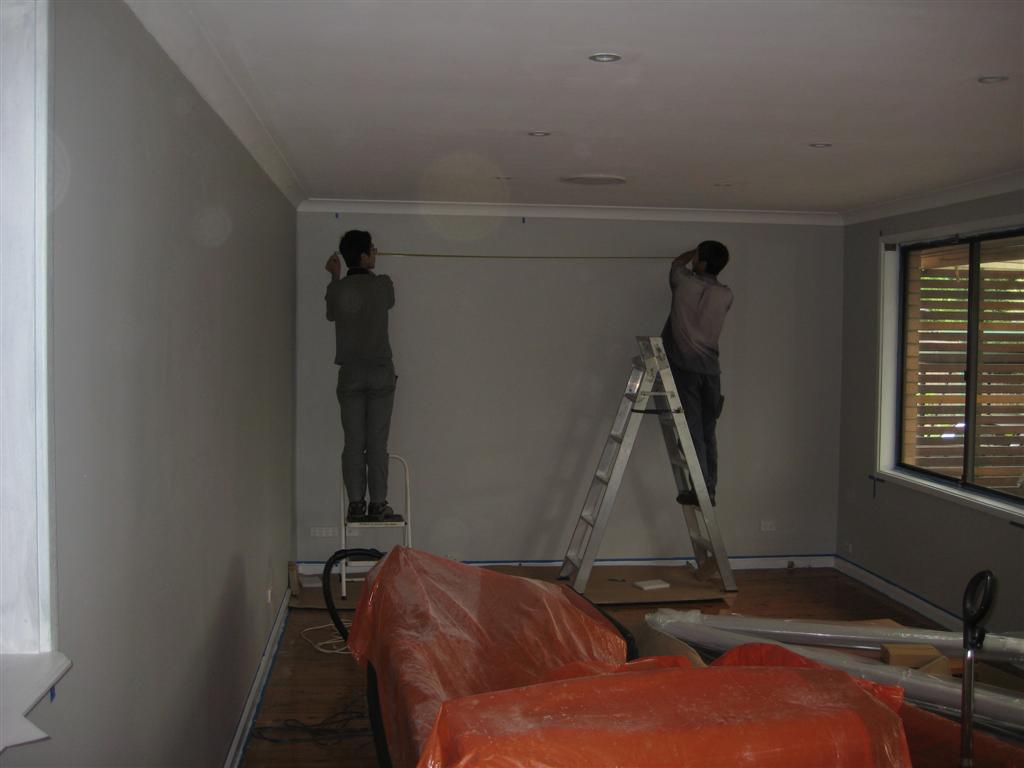
And here are the guys measuring. I essentially wanted the screen to be off centre a little so that when you were sitting on the middle cushion of the lounge you are looking directly in the middle of the screen.
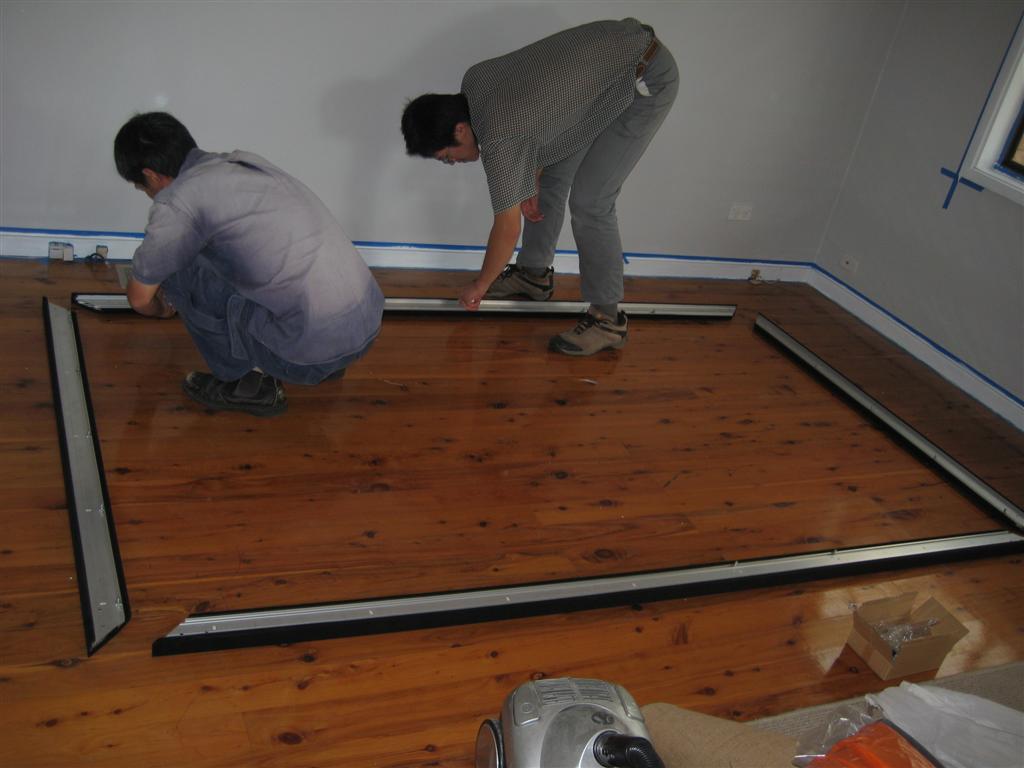
With the measurements done and two screws in the wall to hold up the screen, the guys set to work putting together the frame of the Carson Fixed Frame screen. Took them no time to slide in all the pins that hold the screen taught.
At this point I was starting to get excited because it was almost up. Amazingly just two screws/pins hold the light screen up on the wall.

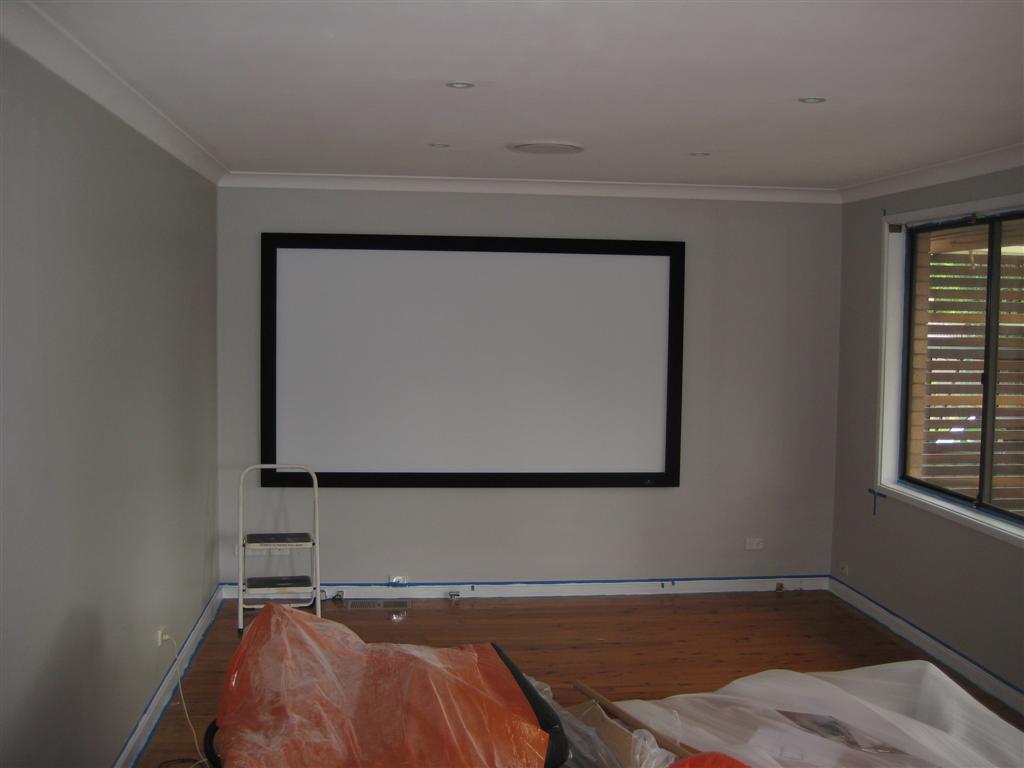
Here you can see that the screen is up, with the off centre positioning to suit the seating arrangements on the lounge rather than the visual appearance of when you walk into the room. To the right hand side is where I will look to place the new Pioneer receiver, Bluray player and HTPC and I am sure that once in there it will be balanced out.
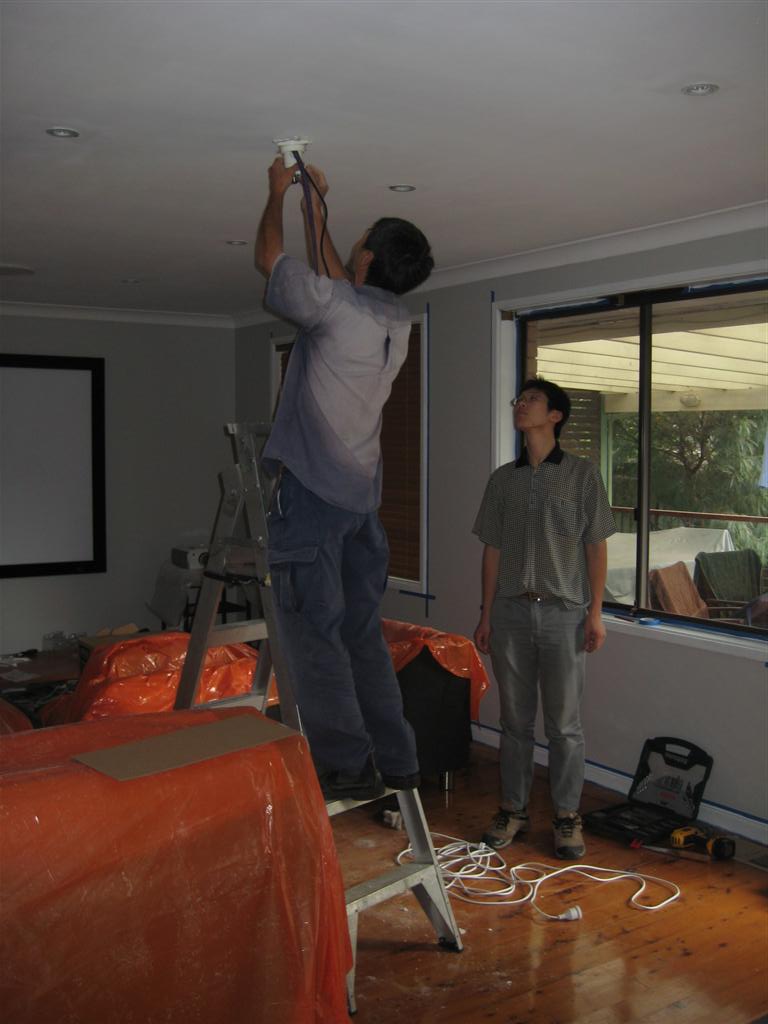
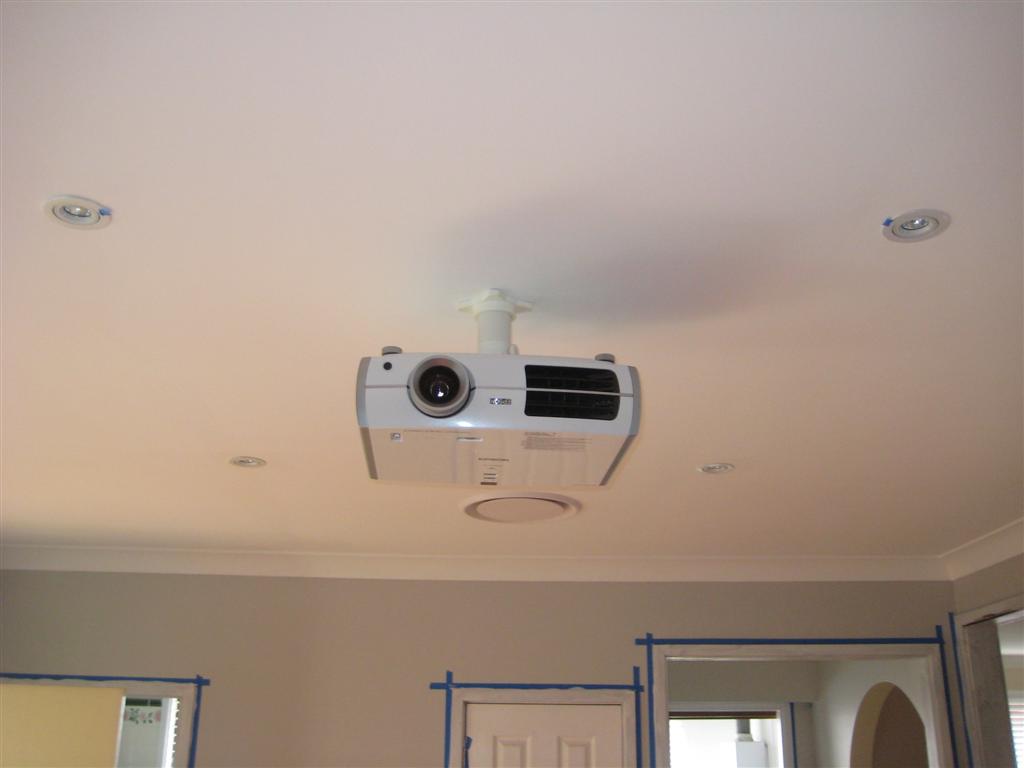
With the screen in place it was now just a matter of getting the projector mounted. The guys did a rough positioning check to ensure the vertical and horizontal lens shift was going to work in the location that I wanted. As the screen was over to the left hand side of the wall I didn't want the projector aligned in the centre as it would conflict with the down light positioning. But the Epson TW3600 had absolutely no issues here due to the great lens shift capabilities.
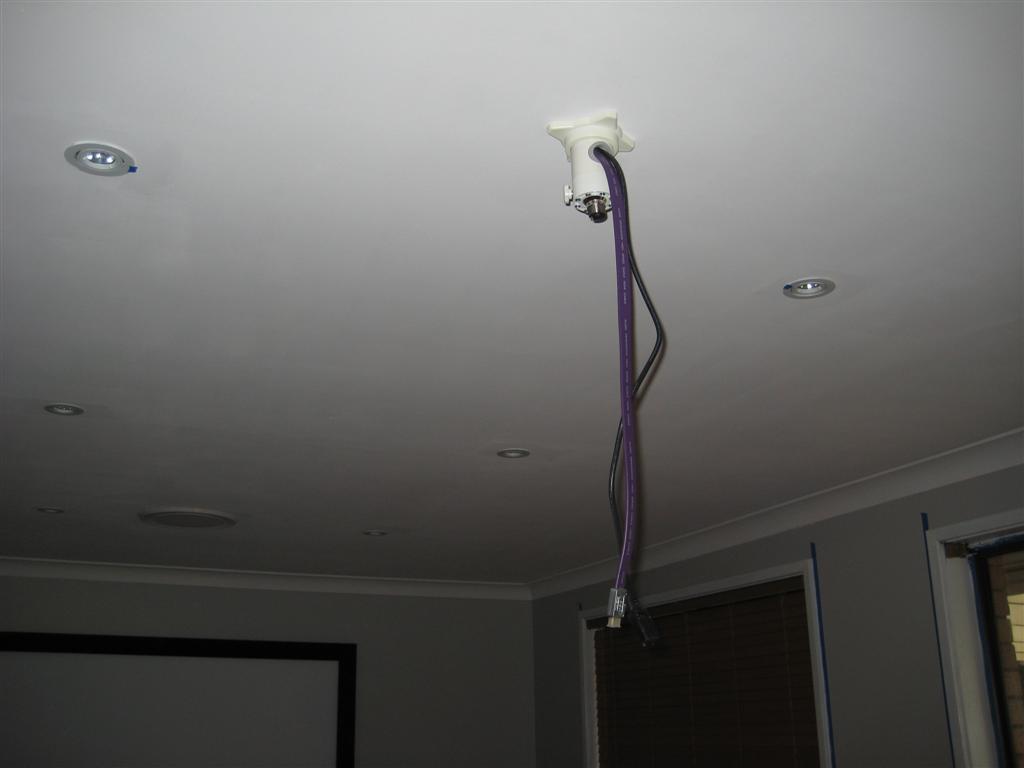
Here we have the Carson Cable Management Universal Projector Ceiling mount in with the purple HDMI and black power cable.
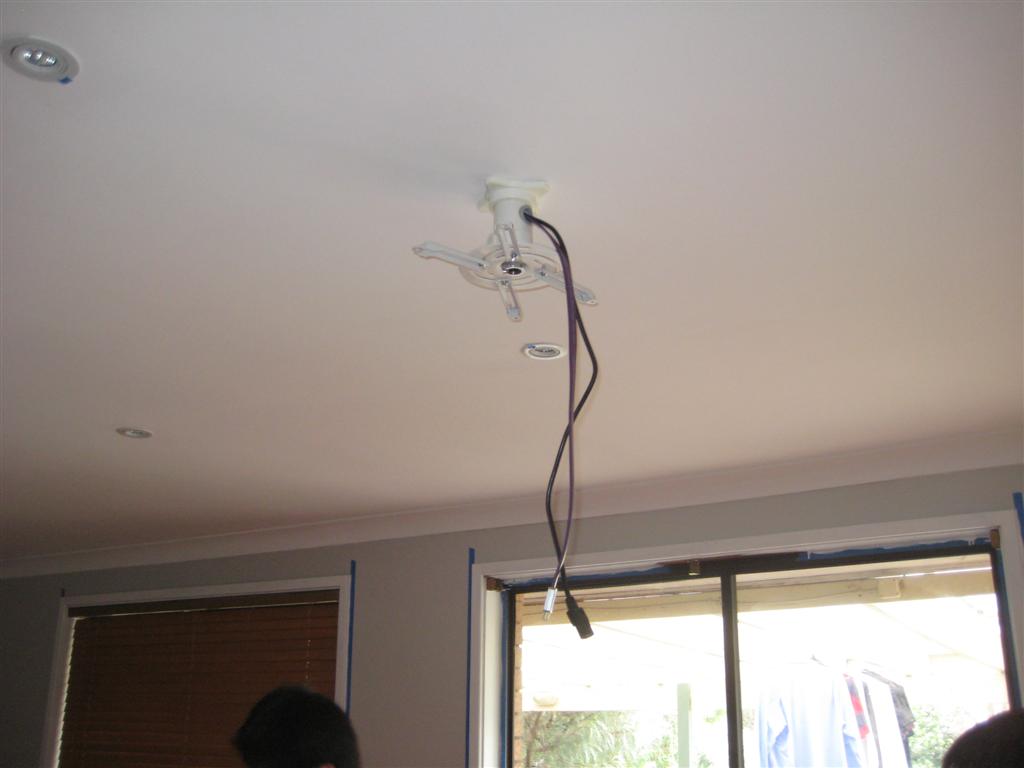
And finally with the bracket to mount the projector to.
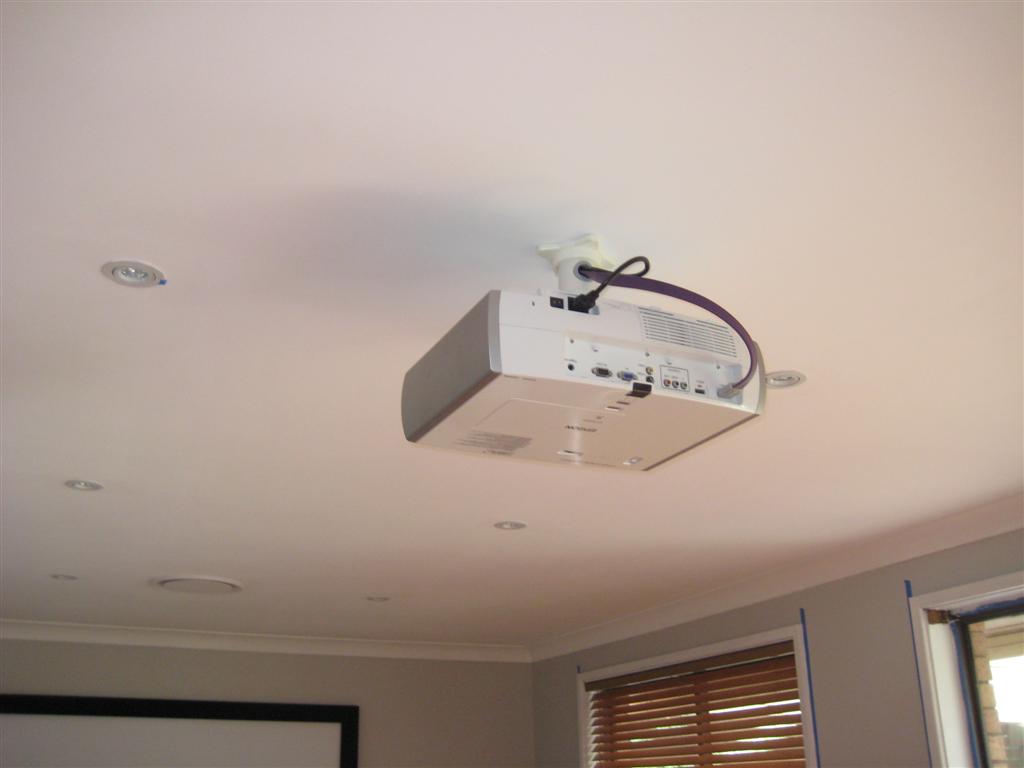
And the final product installed. Such a simple and elegant installation and the only having one HDMI cable to deal with means that it doesn't look too busy. The projector itself was a little bit bigger than I expected but certainly not too over powering.
And now the view from the front.
All in all the installation only took a couple of hours. No dramas what so ever with the guys from One Dragon. They listened to where and how I wanted it setup. And along the way they gave their advice based on all the previous installations of the same projector and others. If I was to do this again, there wouldn't be anything that I would change in terms of the installation, the projector, screen or brackets. It turned out just great. You can see the final product by visiting the Final Product here.