Preparing the Deck
The next major project that I wanted to undertake on my back deck was to upgrade the balustrade. The original balustrade had a colonial style which to some people is probably fine but it's been nagging away at me. I felt that it needed to be updated and one of the most modern looking modifications that I've seen is that of the hardwood balustrade with stainless steel marine wire. There are a number of suppliers out there that offer the stainless steel wire but what differentiates them from each other is how they terminate at the end posts. Again the big factor here was the stylish and modern and that pretty much straight away meant that I was not interested in using a turn buckle styled terminator.
I then found the following website http://www.slimlinecabling.com.au/index.html and saw that they had a NSW distributor located within the Sydney metropolitan area at St Marys. I had a couple of days off so I head out and took a look at their show room at STK Engineering. Stefan from showed me round and gave me a quick demonstration of how simple the installation was. Stefan then gave me a quick quote which include wire for the top deck & stairs, spigot attachments and 3 stainless steel posts. It came in at around the $1200 mark with a significant proportion of that associated with the stainless steel posts.
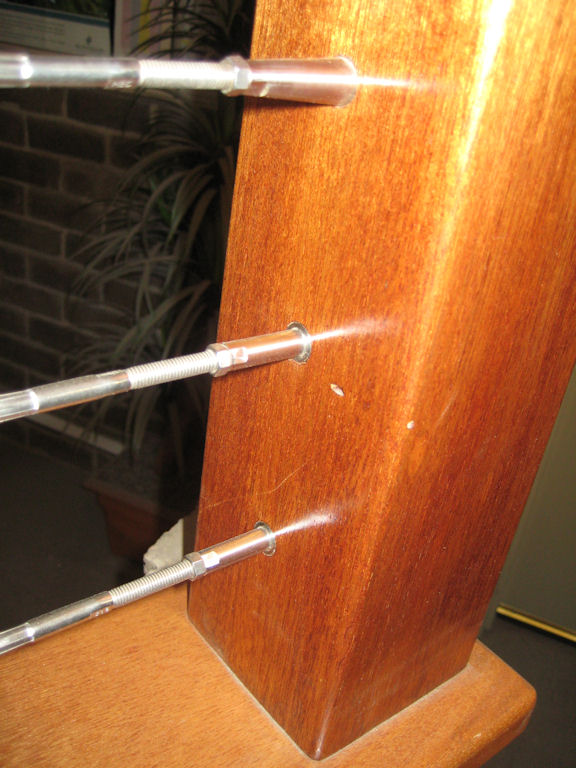
Before I left I took a quick photo of one of the samples that they had there.
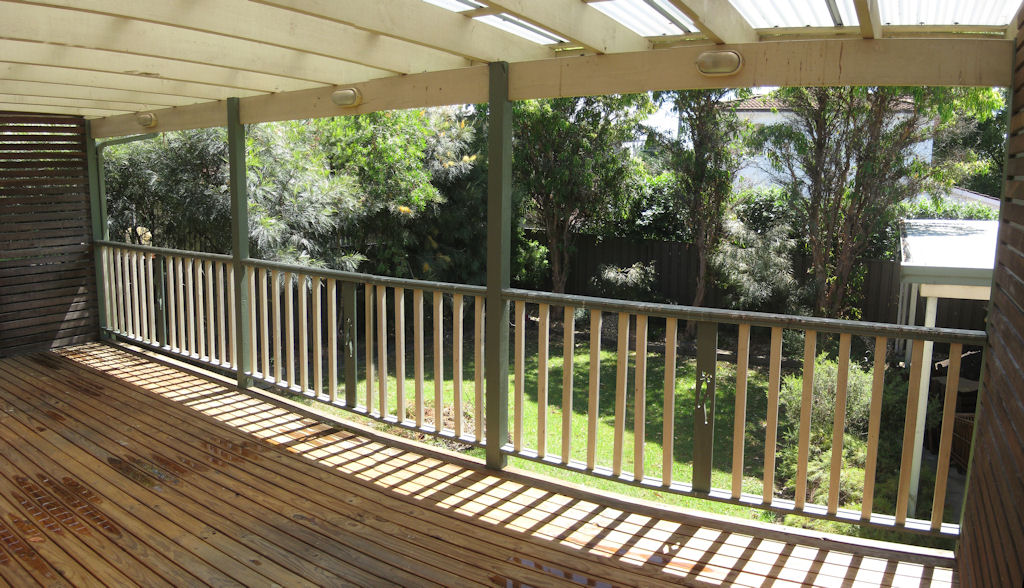
So here is a picture of the back deck with the old style colonial balustrade.
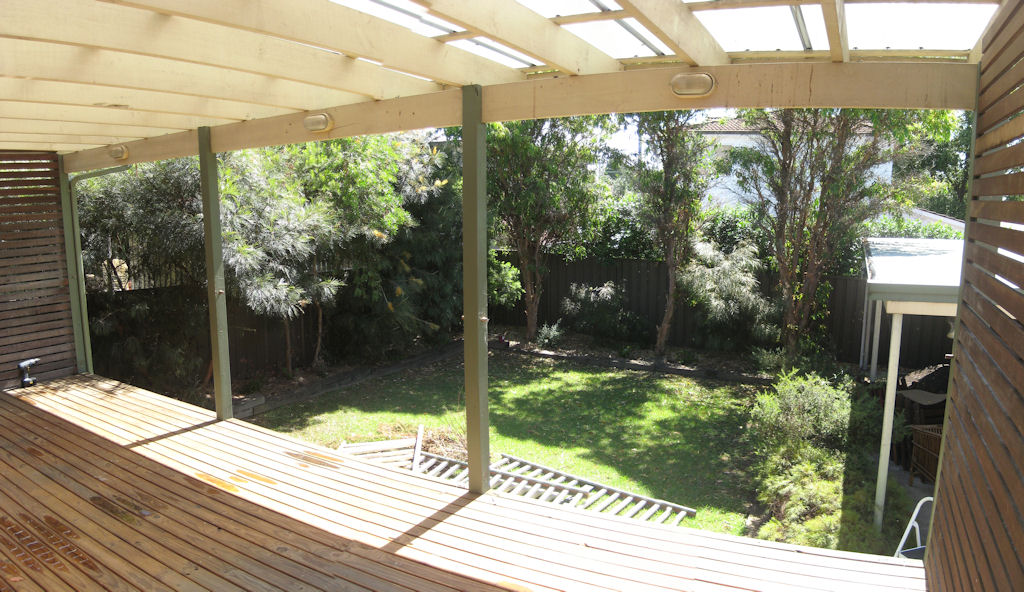
Next step was to remove all of the old balustrades. Most of them were attached with a wooden dow in the post and a number of screws going through the balustrade into the 90mm posts. It only took a couple of minutes to get them removed and out of the way. Straight away I could see the potential of opening the deck up to views into the back yard.
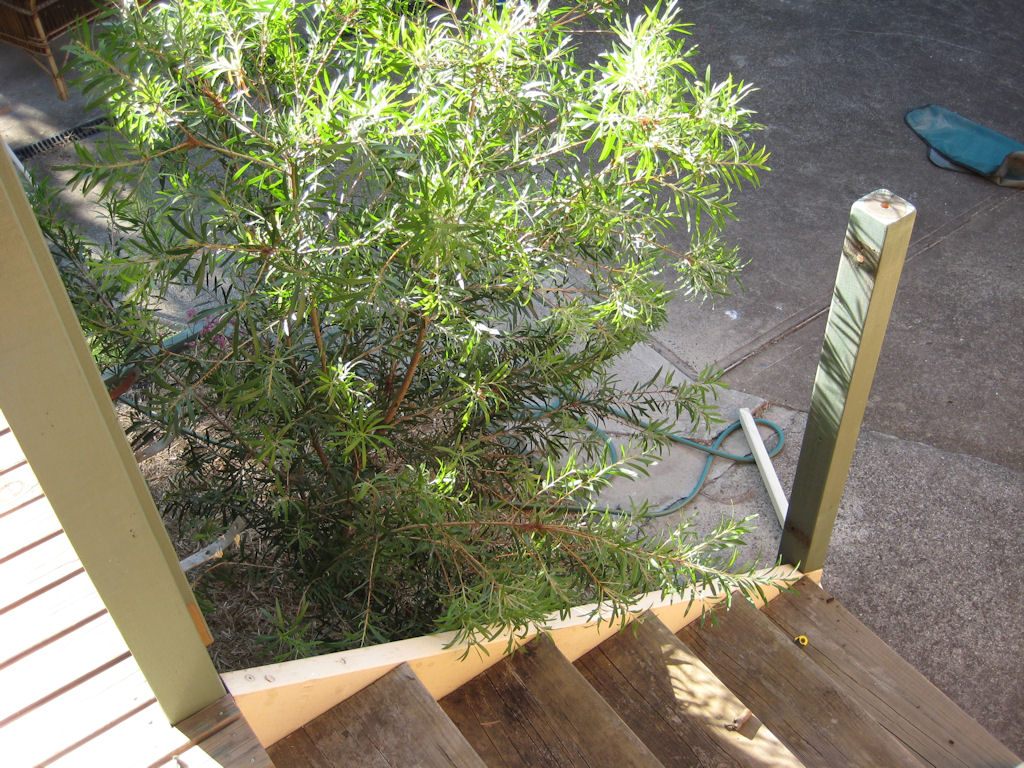
Here is a shot of the where the balustrade was on the stairs down onto the drive way. I had to do a bit of patching on the post due to the original post having a top sphere. To fill the gaps I used and external putty and after a quick sand and paint left over from work done on creating the hardwood screens.
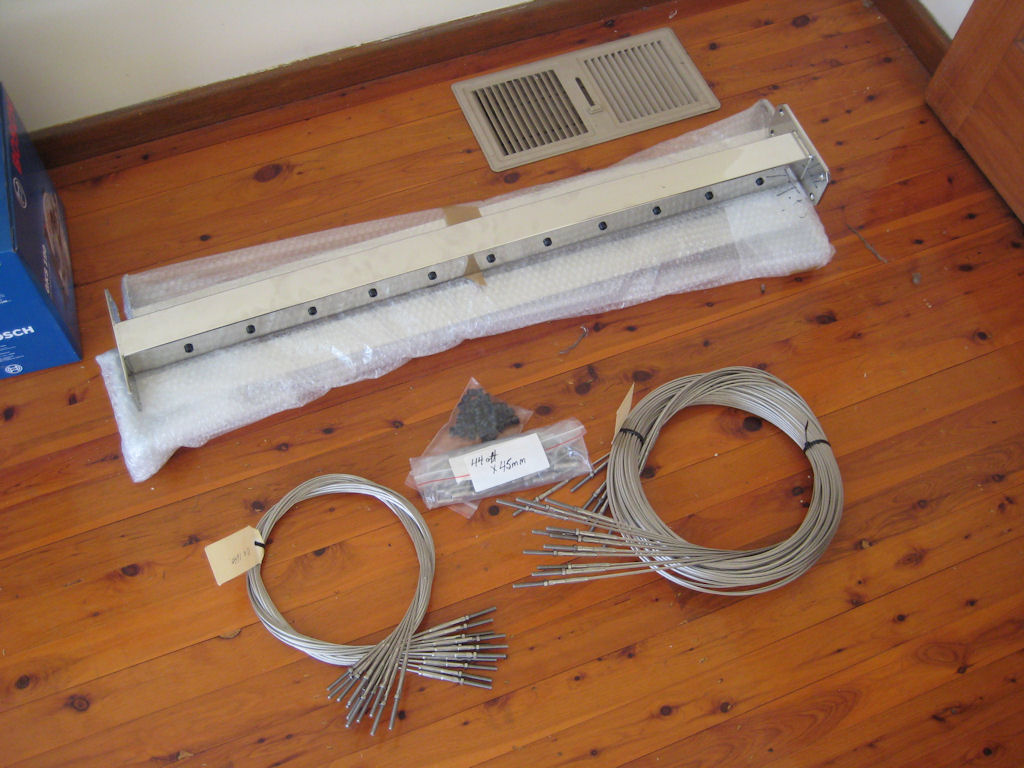
So at this point I gave Stefan a call and confirmed that I wanted to go ahead with the order. All he need from me was measurements for the gaps along the back deck and down the stairs. The next day I got a call back saying that everything was ready to go so dropped out to pick up the goods. So here is a photo of them at home ready to be installed. You can see the 3 stainless steel posts all ready drilled with grommets installed along with the two lots of wire, additional grommets for the 90mm posts and the spigot terminators.
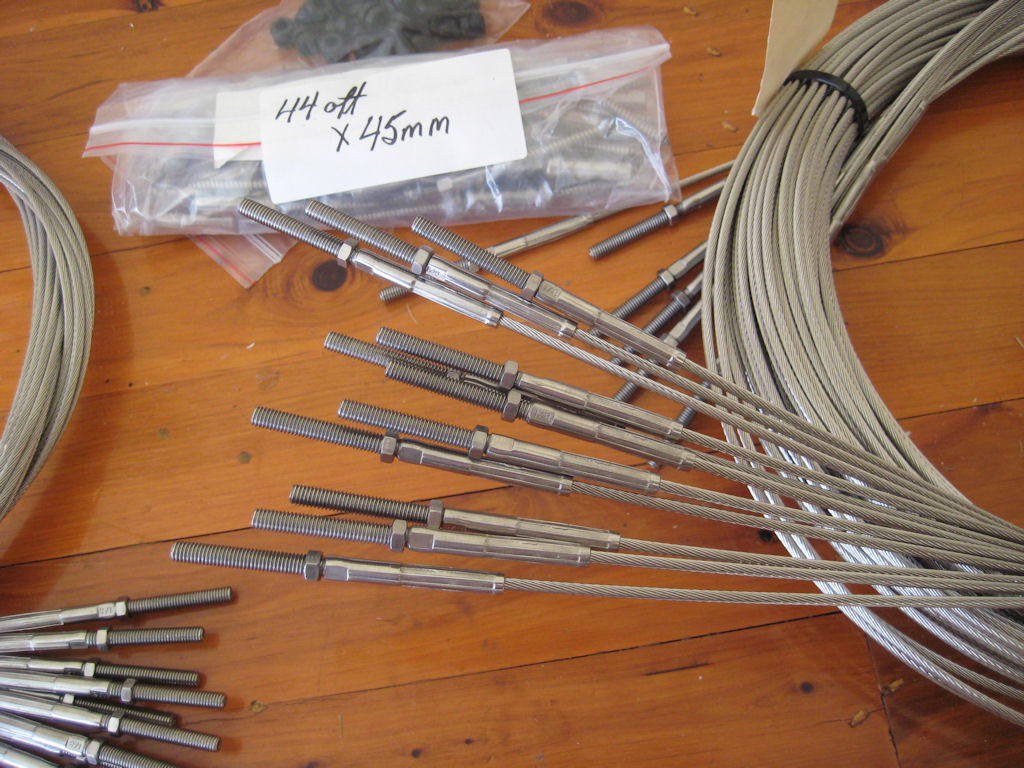
Here is a closer look at the wire with the end thread already installed. The wire has a real nice feel to it and looks superb.
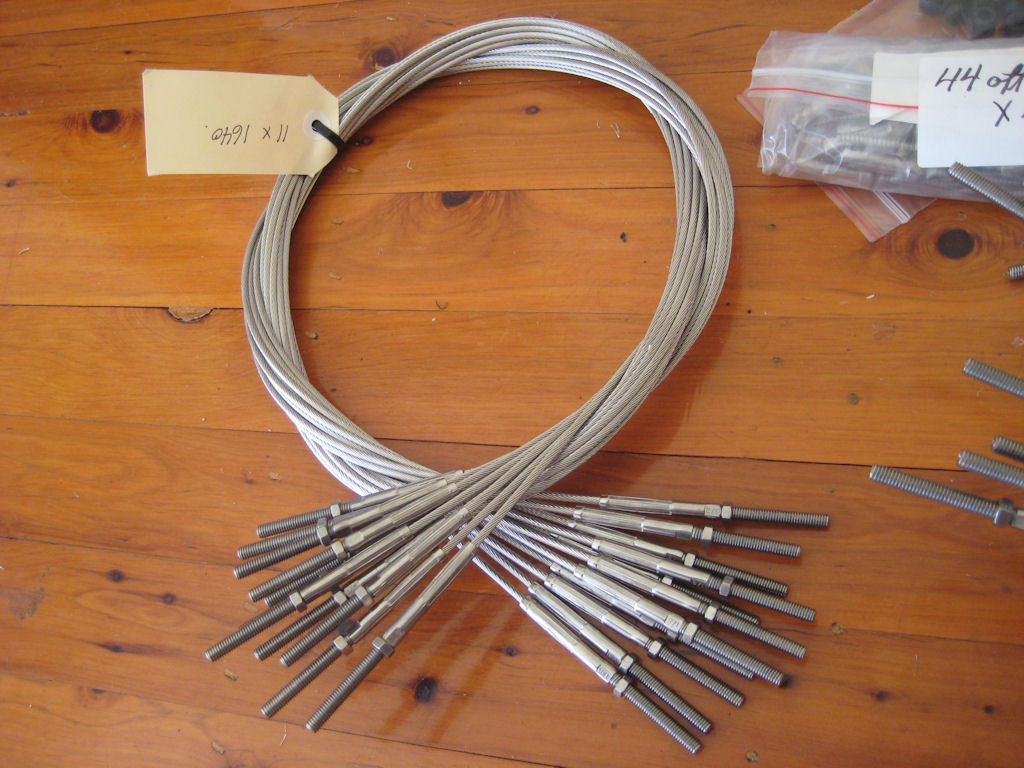
And here is the small group of wire for the stairs. 11 strands in total at a length of 1.64 metres.
The beauty of buying through these guys was the fact that the wire was already cut to the appropriate lengths and did not necessitate me buying additional tools. I've seen some sellers requiring you to buy tools that cost into hundreds of dollars. Stefan also lent me tools to do the pilot hole with counter sinking.